//
Subscribe to the Tabnine newsletter
//
Get news and updates about AI, software development, and more.
When it comes to Python, PyCharm seems to be the goto IDE for most professional Python coders. Sure, there’s Atom and Visual Studio. But you can’t quite compare them to the inbuilt intelligence of PyCharm from IntelliJ IDEA.
PyCharm is available in both a paid and a free version. For this guide, we will be focusing on the free version — also known as the Community Edition.
This is a beginner walkthrough guide and will not feature too much code. Rather, it will focus on the general setup and how to create your first Django app inside PyCharm. Before we begin, let us do some housekeeping prerequisites. You will need to have installed:
Let’s get started!
Prior to beginning, it’s important to ensure that you’re knowledgeable about the most recent advancements and trends in software development. Staying informed about new technologies and practices will equip you with the necessary knowledge and abilities to excel in this constantly evolving industry. Discover how to utilize AI for optimizing your software engineering in 2024.
To install Django, create and navigate to your project folder. Boot up your command line (cmd in Windows) and run the following command to create your virtual environment.
| python -m venv env |
venv is the command to create your virtual environment in Python. env is your environment name. In theory, env can be called anything you want but for this guide, we’re going to keep to the convention.
This will create an env folder for you with all the scripts and libraries required to run a Python-compatible virtual environment. To activate your virtual environment, run the following command:
| envScriptsactivate |
You will see (env) in your command line in front of your directory. For example:
| (env) C:Documentspython |
Once that is running, you can run the following command to install Django onto your local machine.
| pip install django |
You might get a warning to upgrade pip but this is not a requirement to continue. once that is completed, you can now create your first Django project. To do this, use the django-admin command:
| django-admin startproject pycharmtut |
You can replace pycharmtut with whatever you want. The above command will create a new Django project with the minimum required files and setup. Before we can run your new Django app? We need to set it up.
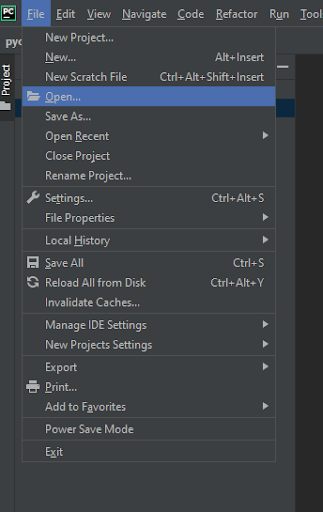
Launch your PyCharm Community Edition and open your newly created Django project folder. To do this, click on File, then Open, and select ‘pycharmtut’.
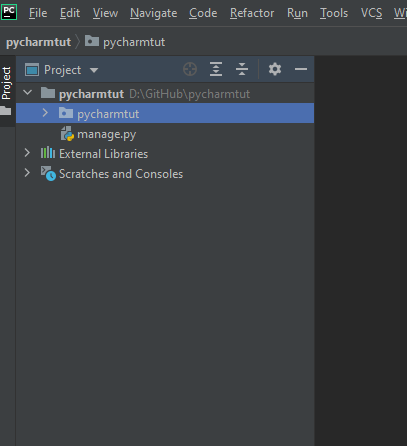
This will import the folder and its contents into the Project sidebar.
To start your Django app, go back to your command line and run the following:
| python manage.py startapp hello |
This command will run the manage.py file and create a new app called hello in your project’s folder. Here is a list of directories and what it looks like in PyCharm.

Inside PyCharm, go to settings.py (located inside your pycharmtut folder). Open up the file by double clicking on it. Scroll down to the part that says INSTALLED_APPS and add hello. hello is the app you just created via the previous command line.
INSTALLED_APPS should be around line 33. Here is what the final definition looks like:
| INSTALLED_APPS = [ ‘django.contrib.admin’, ‘django.contrib.auth’, ‘django.contrib.contenttypes’, ‘django.contrib.sessions’, ‘django.contrib.messages’, ‘django.contrib.staticfiles’, ‘hello’, ] |
To see your Django app working, go back to your command line and run the following:
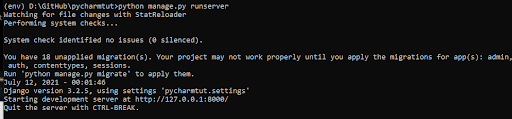
| python manage.py runserver |
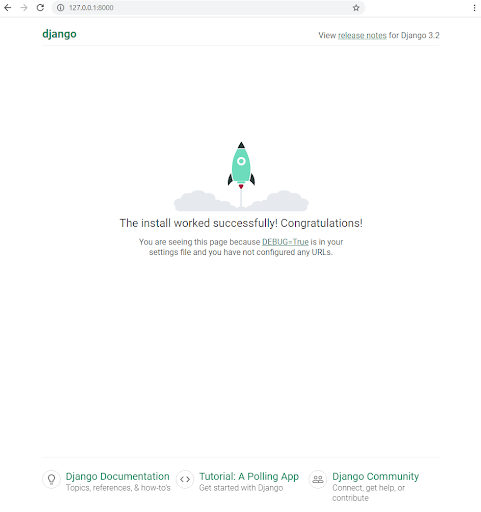
This command will boot up your Django server for you. Inside your console, it will tell you where the server is located. In our case, it is http://127.0.0.1:8000
Paste http://127.0.0.1:8000 in your browser and you should be greeted with something like this:
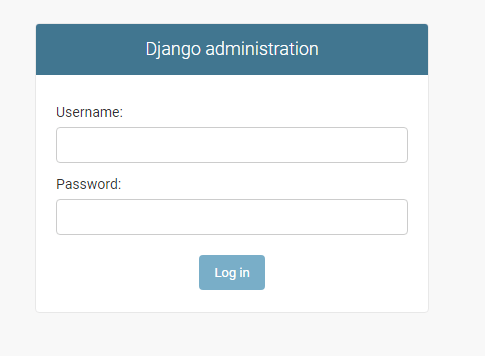
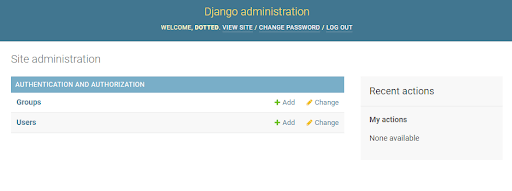
By default, Django comes with a pre-built admin panel that you can use. It is located at http://127.0.0.1:8000/admin and looks something like this:
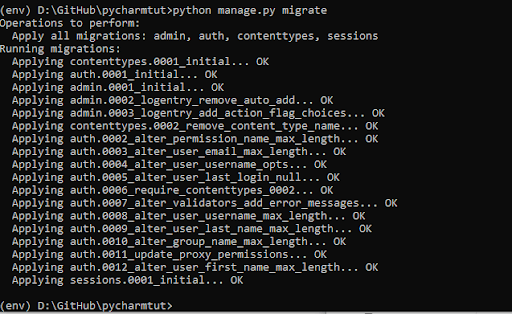
Before we can use it we need to add an admin user. To do this, you need to stop your Django app server by using Ctrl + c on your command line. Create a database for your Django project by using the following command:
| python manage.py migrate |
Your command line should look something like this:
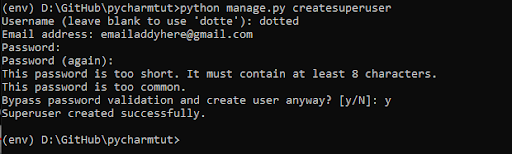
Now you can run the createsuperuser command to create a new user for your Django app. Here is the command for it:
| python manage.py createsuperuser |
In your command line, you can type in your username, email address, and then a password. As this is on your local machine, you can use a weak password, which will prompt a password is too common message. You can bypass this by typing y when prompted. Once that is completed, you will get a Superuser created successfully. Message.
You can now run the server again using python manage.py runserver. Refresh your browser and you should be able to login using your credentials. Here is what the logged admin screen looks like:
Now that we’ve completed the basic set up, let’s get back into PyCharm and write some Python Django code.
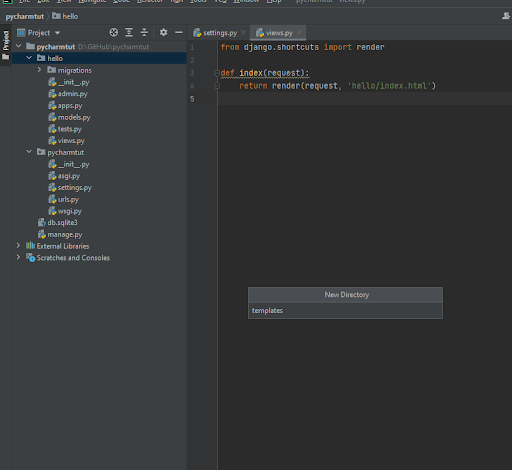
Navigate over to your PyCharm folder and select views.py. This is where you will render your templates. Here is the starter code snippet for it:
| def index(request): return render(request, ‘hello/index.html’) |
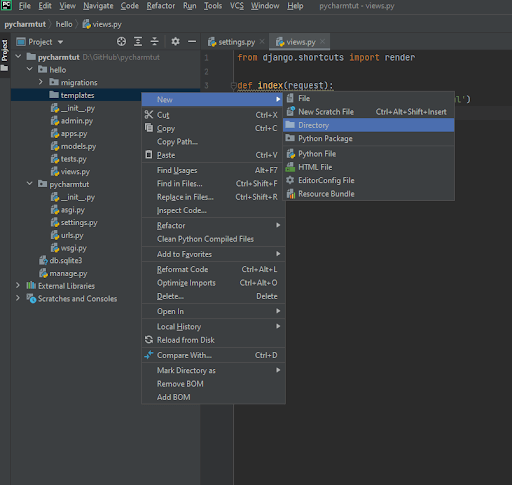
Create a templates folder with another folder inside it called hello. Inside the hello folder, create a file called index.html. To do this, right click on the root hello folder, hover over New and click on Directory.

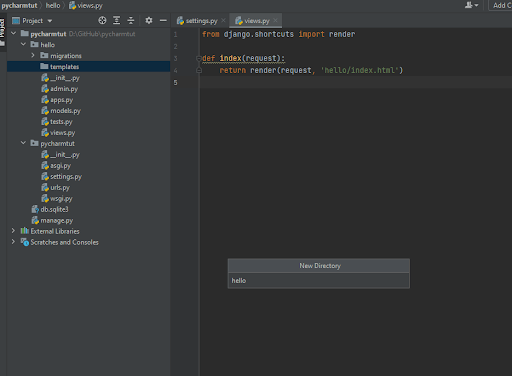
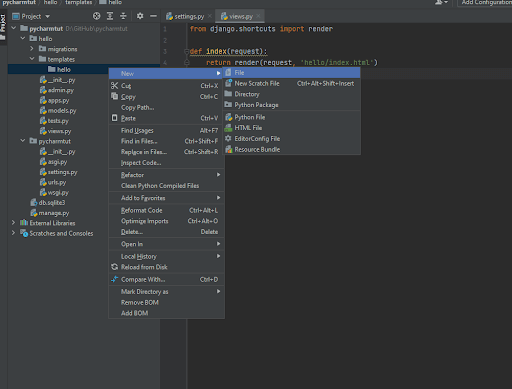
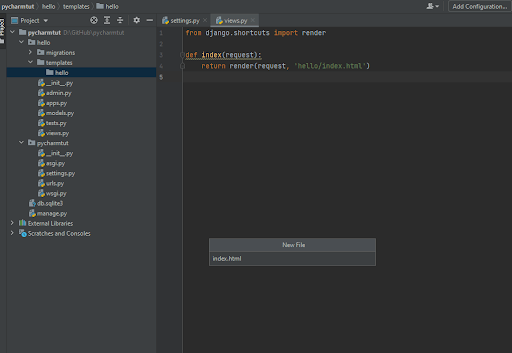
Here is what the final folder structure looks like in PyCharm:

Now inside your index.html, you can create whatever code you want. We’re going to do a simple hello world. Write the following HTML in your index.html file.
| <h1>Hello World!</h1> |
Once that is completed, we need to set the url for this. Go to your urls.py inside your pycharmtut folder and import your newly created hello template.
| … from django.urls import path from hello.views import index urlpatterns = [ path(‘admin/’, admin.site.urls), path(‘hello/’, index) ] … |
Once you’ve saved this, you can now go to http://127.0.0.1:8000/hello/ and it will give you a view that looks something like this:
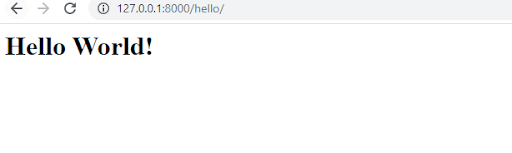
If you take away the hello path and leave it blank — so your path becomes path(”, index), it will run at the root domain and override the default Django greeting screen you saw earlier.
And that is the general basics of getting started with Django.
The above is a very simple introduction to Django, how to set it up and work with it in PyCharm. There are other parts of PyCharm that you can explore further in the Community Edition such as the graphical debugger and test runner, navigation and refactoring, code inspections and VCS support. Beyond that is PyCharm Professional Edition, which unlocks more features that help with web development, in addition to database and SQL support.
Explore recent posts
//Explore recent posts
//
3 -min read

4 -min read
6 -min read

More How-to's
//3 -min read
3 -min read
3 -min read