//
Subscribe to the Tabnine newsletter
//
Get news and updates about AI, software development, and more.
Thirty-six years after its inception, C++ is a programming language that remains persistently popular. Partially fueling the gaming industry, C++ also extends to GUI-based applications such as Adobe Creative Cloud Suite, database software like MySQL Server, compilers, banking applications, embedded systems, and libraries that deal with high-level computations, performance, and speed.
Eclipse is an IDE almost two decades old and is one of the few remaining ”original” IDEs that has survived the test of time. It is prevalent and, in addition to English, supports 43 other written languages – making it highly accessible to developers across the globe.
While the Eclipse marketplace for extensions and plugins is significantly smaller than Visual Studio Code and JetBrains’JetBrains’ suite of IDEs, Eclipse C/C++ Development Tooling covers a majority of what developers need for a highly productive and efficient workspace.
These significant features include:
In addition to all this, Eclipse is entirely free and open-sourced.
Setting up Eclipse for C/C++ is also simple to do. Whether setting up from scratch or extending your workspace, Eclipse makes the process as seamless as possible.
If you currently do not have Eclipse installed on your machine, setting up the IDE for C/C++ development from scratch will be a breeze.
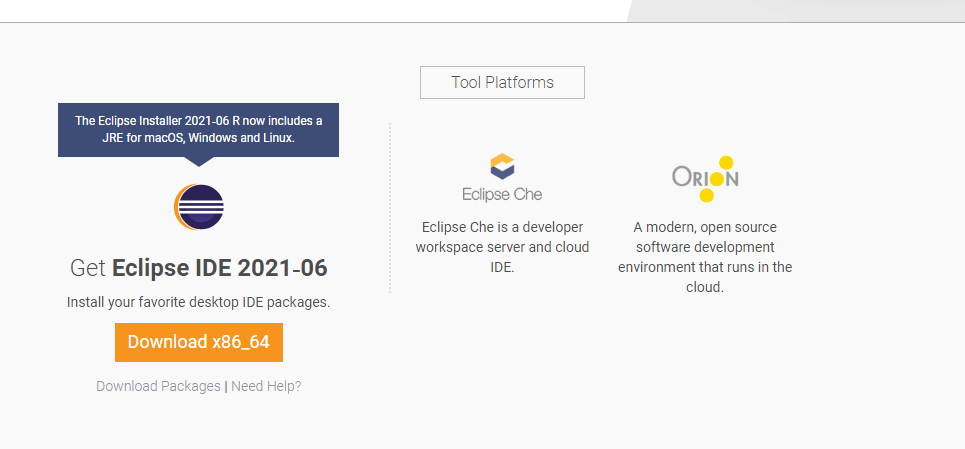
The first thing to do is head over to the downloads page. The installation page will automatically detect your operating system based on your browser and suggest an appropriate download package.

Once you’ve downloaded the installer, run it.
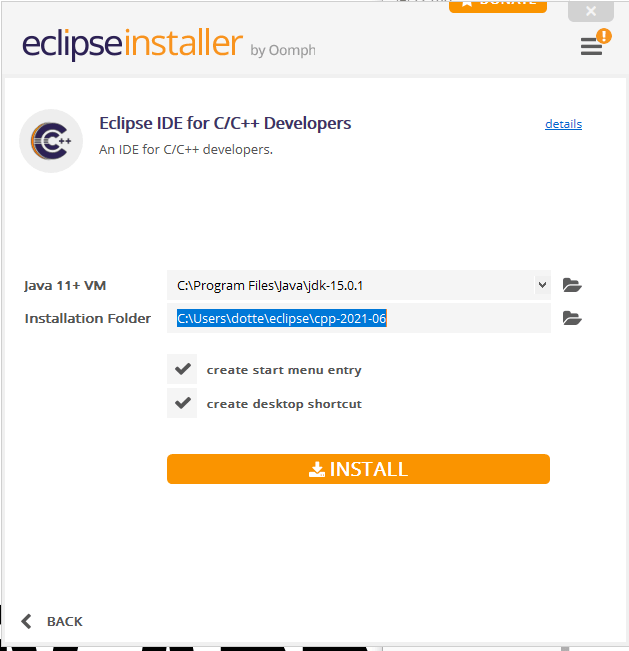
Once your installer is up and running, you will get several setup options. For C/C++ development, select Eclipse IDE for C/C++ Developers. This option will set you up with the available tools required for C/C++ development.
Eclipse IDE for Embedded C/C++ Developers is a dialect of C++. Unless you are explicitly coding with Embedded C/C++, do not select this option.

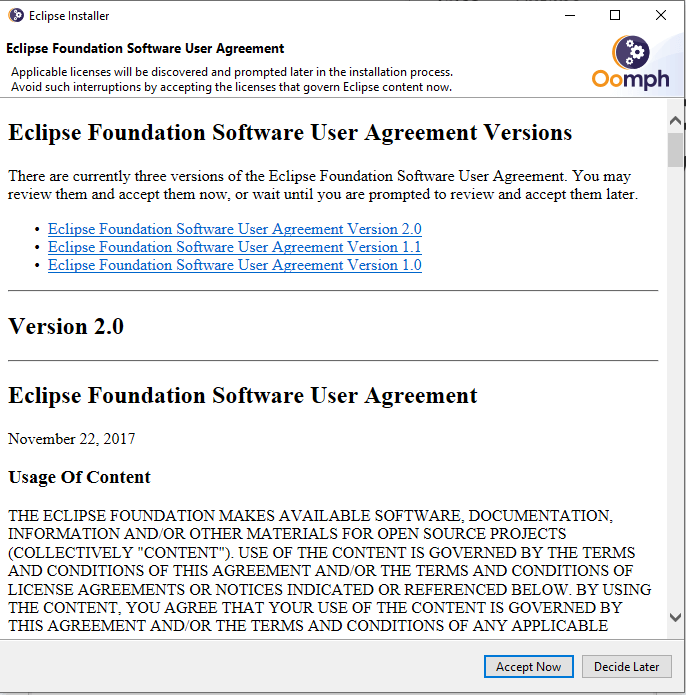
After you do this, the installer will guide you through the standard wizard setup. This process includes specifying the installation folder, agreeing to the terms and conditions, and waiting for the installation to complete.
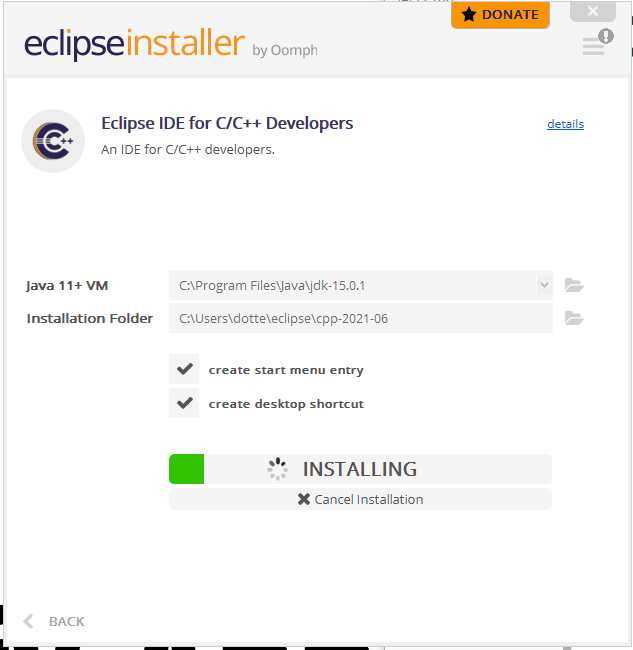
Once you’ve set everything up, you will get a screen that looks something like the screenshot below. Clicking on Launch will start the IDE. Alternatively, you can navigate to your installation folder and launch it from there.

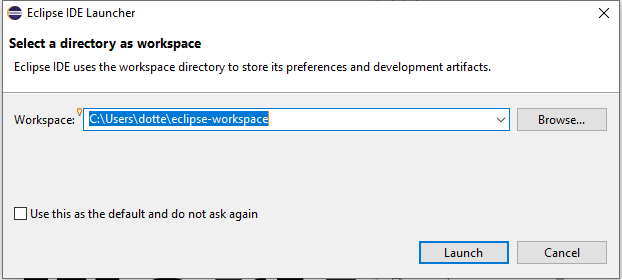
On startup, Eclipse IDE will prompt you for your workspace. This workspace is created by default, and you can make your own for your projects.
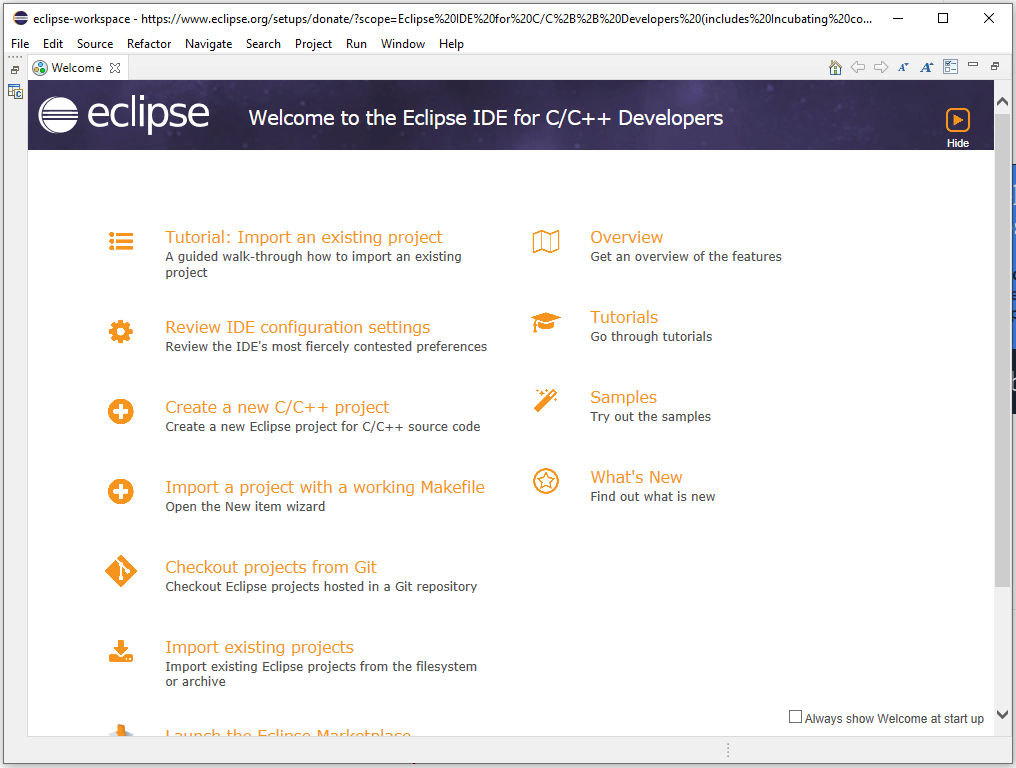
Here is a screenshot of the startup page for a C/C++-specific Eclipse installation. To create a new project from scratch, select Create a new C/C++ project.
After you do this, Eclipse will bring up a list of templates that you can use. In our case, we will boot up a simple, preconfigured ”Hello World” executable.

After you’ve pressed Next, you will be prompted to set up the project name.
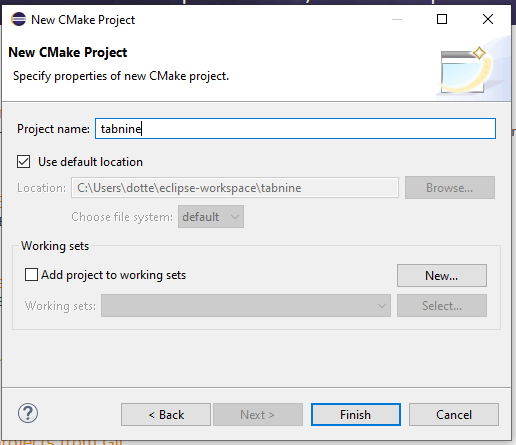
Once that is done, select Finish, and you are ready to start coding your first C/C++ project in Eclipse IDE.
Many of us already have Eclipse set up on our machines for development in other languages such as Java and PHP. In that case, you may still need your original IDE environment setups. How do you install C/C++ on Eclipse without it impacting your current settings and workspace?
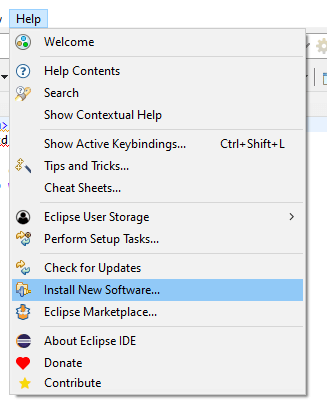
The latest version of Eclipse IDE includes an easy-to-use interface that lets you configure and set up tools and support for C/C++ development with ease. To do this, go to Help in your menu bar and select Install New Software.
Once you’ve selected the option, this will give you an Available Software screen. Click on the dropdown and select –All Available Sites–.

This option will bring up a list of available packages and tooling add-ons that you can install to your Eclipse IDE. To install C/C++ for Eclipse, scroll down the list until you find an option called Programming Languages.
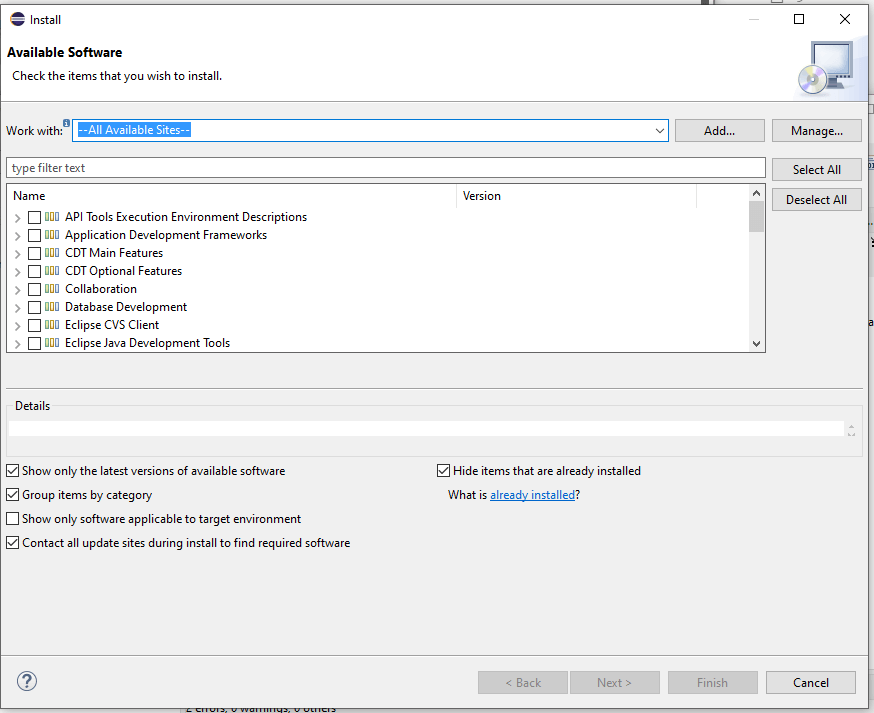
Under Programming Languages, you will have a toggle option that expands to show all the available languages and their various supported dialects. Select the C/C++ version that you need for your project. It is also good to select the C/C++ Development Tools SDK as well, in addition to your version of C/C++. The Development Tools SDK will give you access to the listed features at the beginning of this article.

Once you’ve selected the version of C/C++ you want, choose Next. This step will bring you to your installation manifest screen. Hit the Next button to continue. You can expand the toggle to see more details about what you are installing if you want.

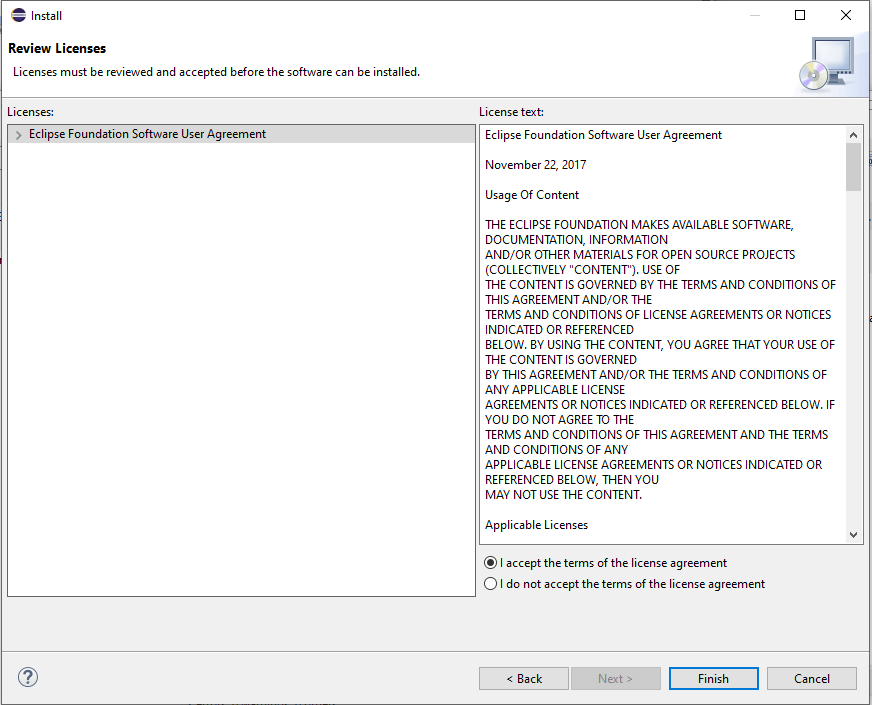
You will need to agree to the terms to have C/C++ appropriately installed on your Eclipse IDE. Once you’ve accepted, hit the Finish button. This step will kickstart the installation process.
You can check the installation progress at the bottom of your Eclipse’s IDE screen. There will be a little message with a progress bar to tell you how far along everything is.

Once completed, your Eclipse IDE will prompt you for a restart. Select Restart Now to complete the setup and configuration of C/C++ on your Eclipse IDE.

Now you are ready to start developing your first C/C++ project in Eclipse. There isn’t much else that you need to do beyond this other than creating your C/C++ application.
Eclipse may traditionally be associated with Java, but it is a powerful C/C++ workspace too. Installing and configuring C/C++ on Eclipse is relatively straightforward nowadays. Eclipse’s long history as an IDE also means that it has developed a deep understanding of development workflows and what an efficient programmer requires to do their tasks. When it comes to setting up C/C++, there is no need to programmatically set up everything, as required by older Eclipse IDEs.
The Eclipse community and its sponsors have invested time in making the IDE an efficient and productive workspace, which includes setting up as quickly as possible with minimal friction. All you have to do is download the C/C++ Development Tools as a package to get started.
Explore recent posts
//Explore recent posts
//
6 -min read

2 -min read

3 -min read

More How-to's
//3 -min read
3 -min read
3 -min read